Coolify is a self-hosted PaaS that runs Docker workloads on your own server. Maillayer ships as a single image, so the flow is: create a Compose-empty resource, paste the Compose file, set a domain on the service, add two env vars, and deploy.
Deploy
Sign in to your Coolify dashboard. Open (or create) a Project, pick an Environment (the default
productionis fine), then click + Add Resource.On the New Resource screen, scroll to the Docker Based column and pick Docker Compose Empty.
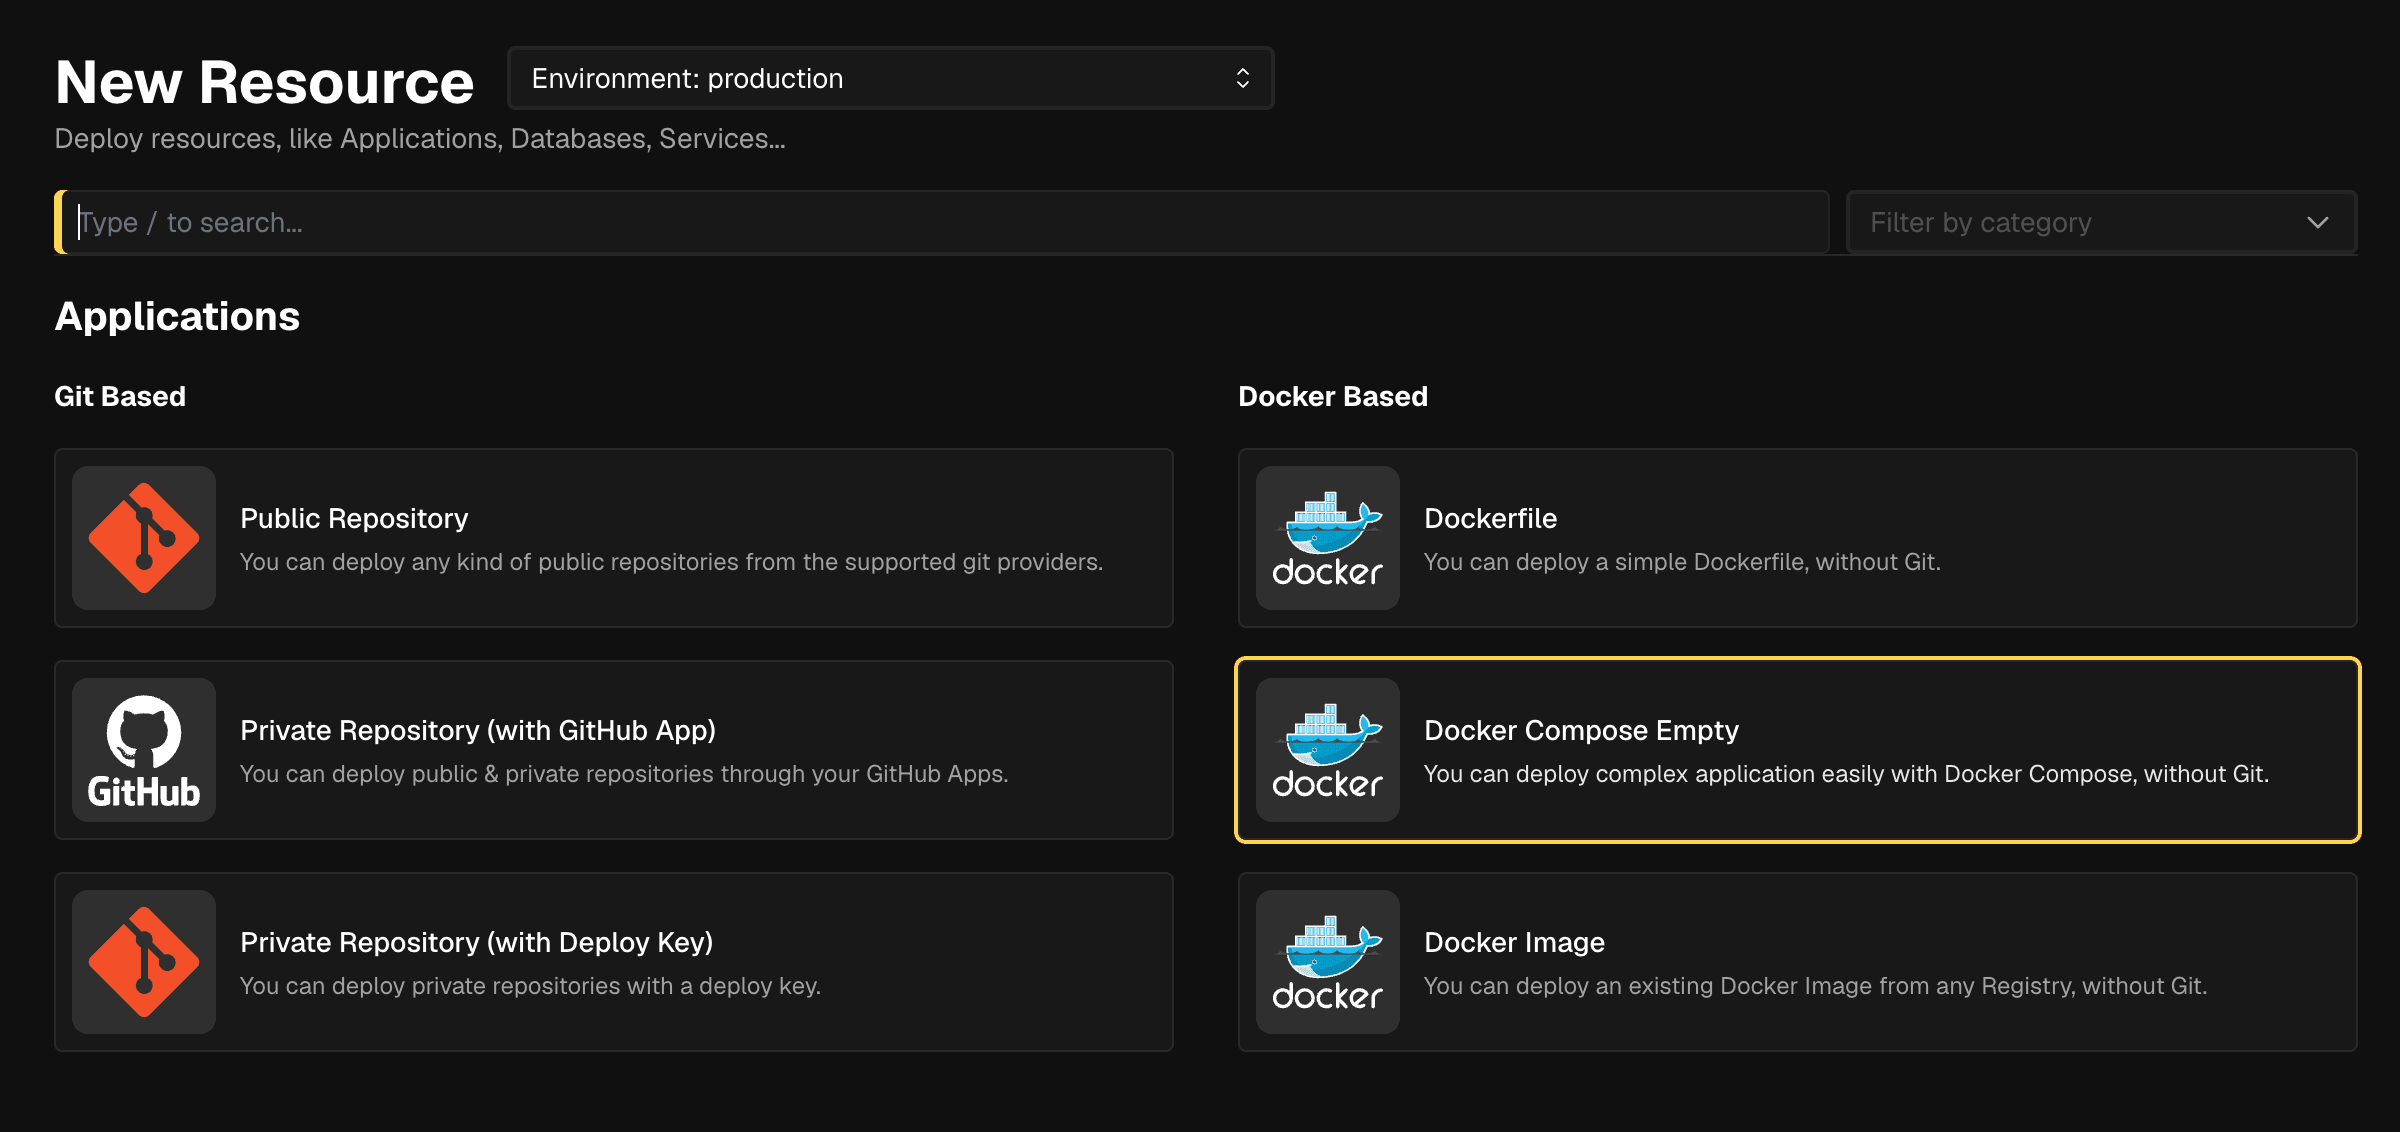
Step 2 — Pick Docker Compose Empty. On the Create a new Service page, paste the Compose file into the Docker Compose file editor and click Save:
services:
  maillayer:
    image: ghcr.io/mddanishyusuf/maillayer-pro:1
    restart: unless-stopped
    ports:
      - "3000:3000"
    volumes:
      - maillayer-data:/app/data
    environment:
      AUTH_SECRET: ${AUTH_SECRET}
      APP_URL: ${APP_URL}

volumes:
  maillayer-data:
Coolify drops you on the Service Stack Configuration page. Scroll to Services, find the
maillayerservice, and click Settings on the right.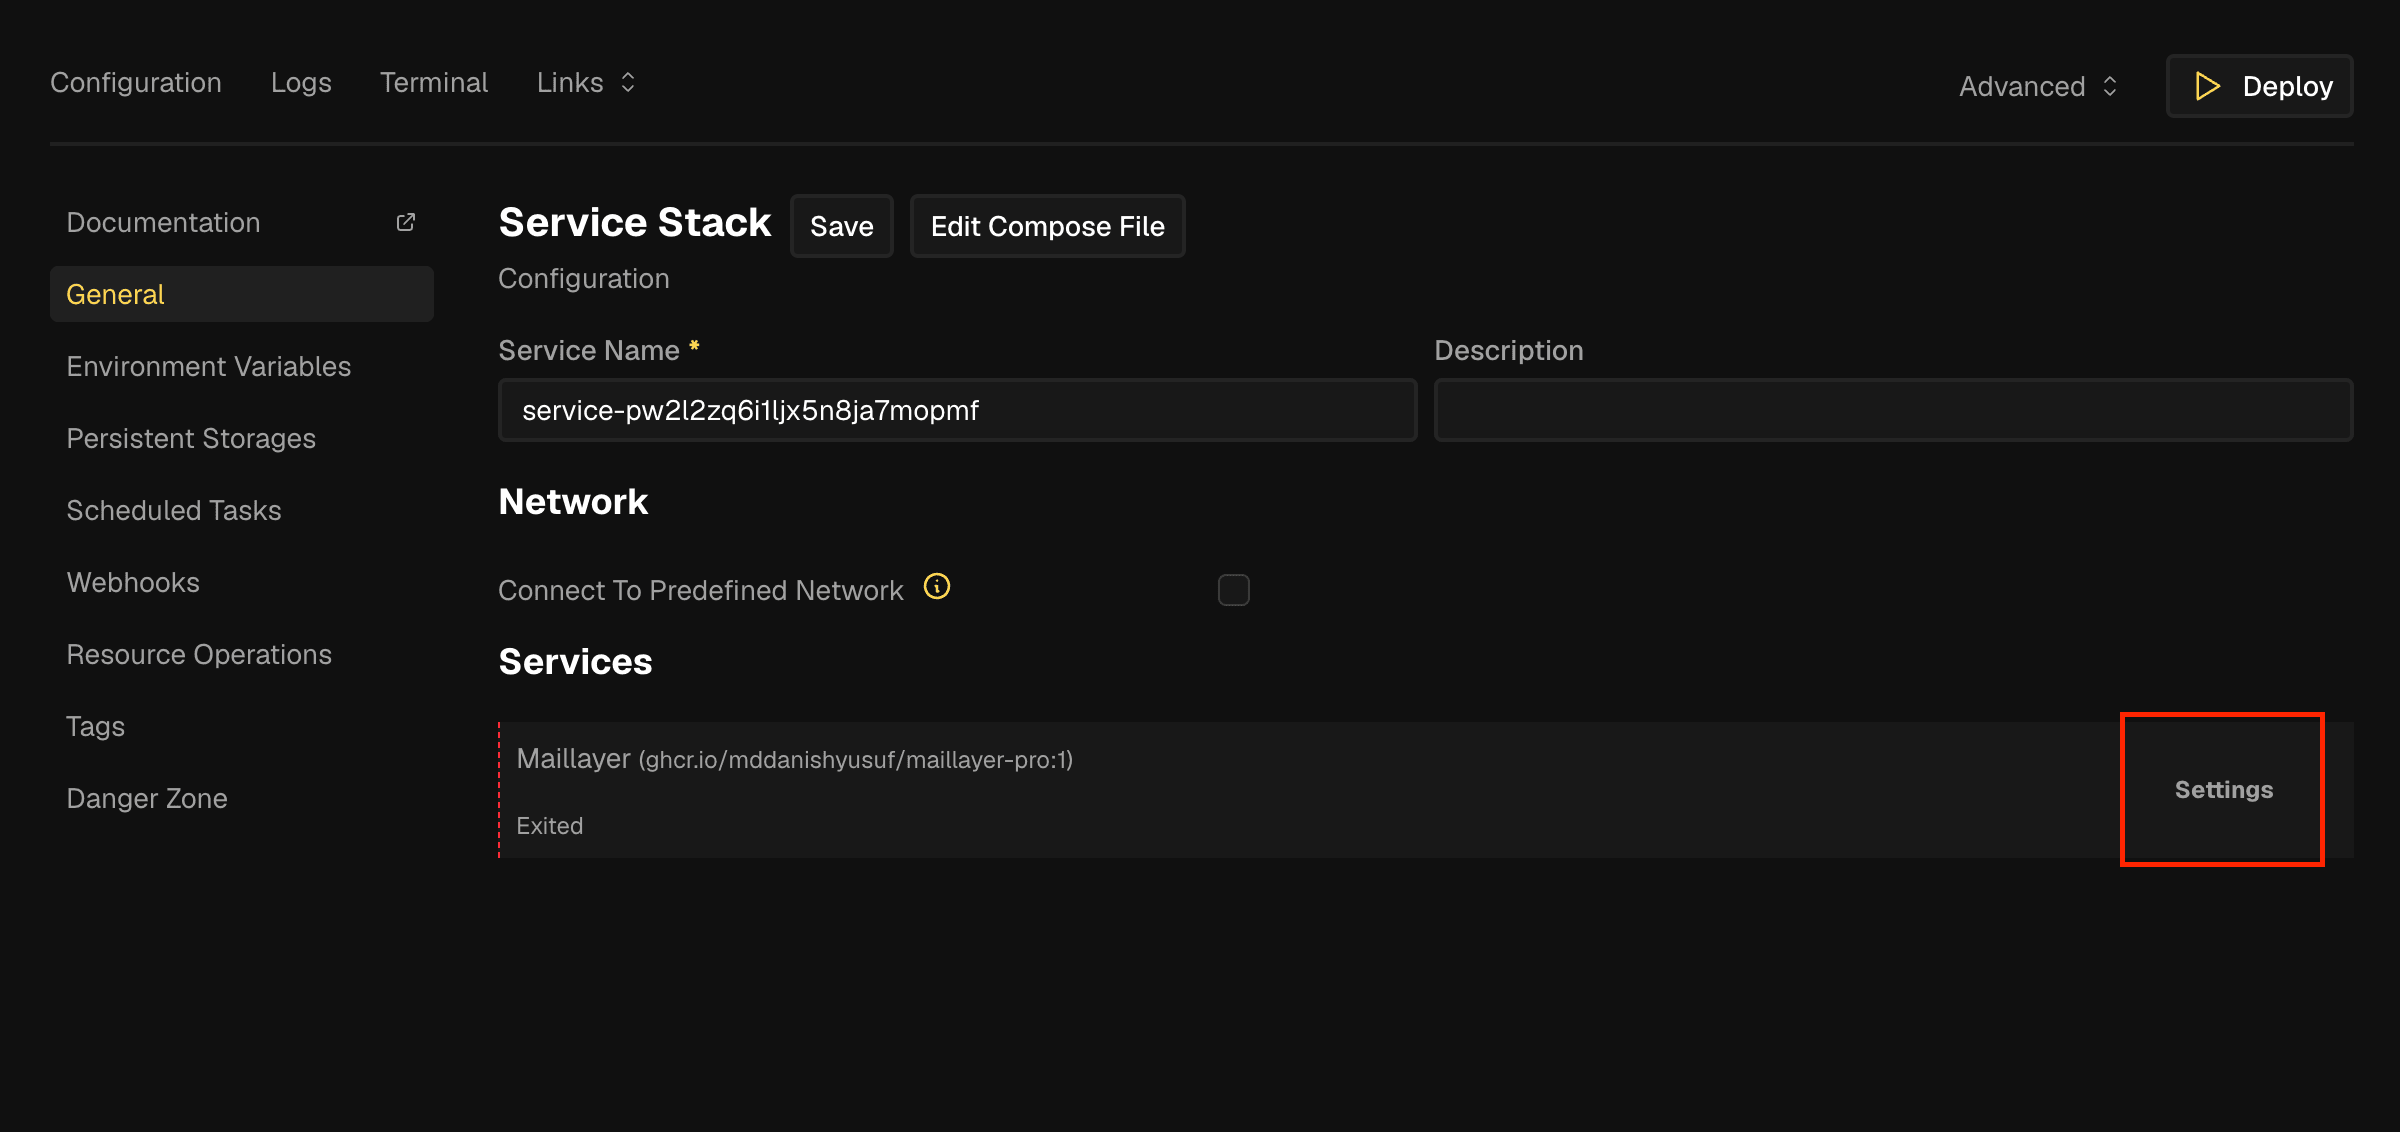
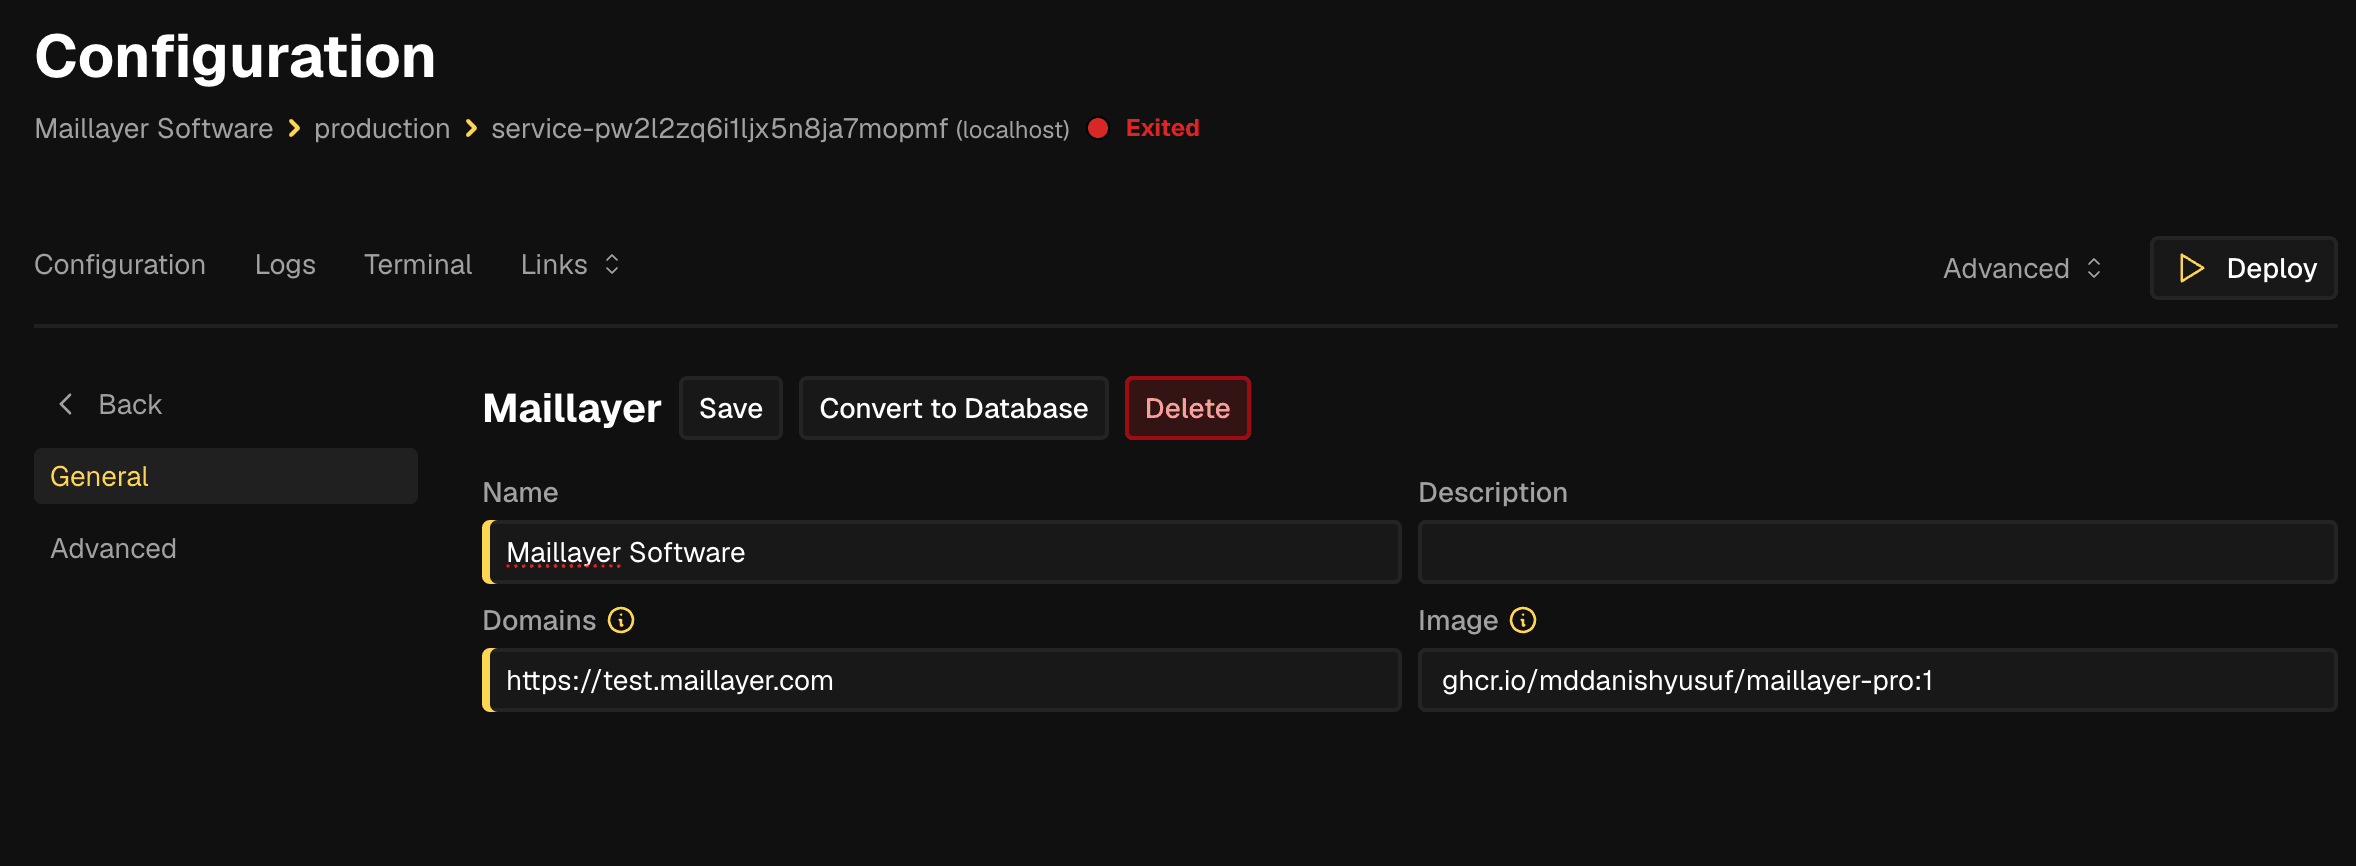
Step 4 — Open the service Settings. Set Domains to your full URL, e.g.
https://mail.example.com. Coolify auto-detects port3000from the Compose file, so you don't need to specify it.At your DNS provider, add an A record for
mail.example.compointing to your Coolify server's IP. Coolify will provision a Let's Encrypt certificate on the first deploy.Click Save.
Step 5 — Set the domain on the service. Click Back, then open Environment Variables from the left sidebar and add:
APP_URL=https://mail.example.com
AUTH_SECRET=<paste output of: openssl rand -base64 48>
For
AUTH_SECRET, runopenssl rand -base64 48locally and paste the output. Click Save.Click Deploy in the top right. Watch the logs until the container is healthy, then open your domain and sign up — the first account becomes the owner.
AUTH_SECRET decrypts every stored provider credential (SES keys, SendGrid tokens, Stripe webhooks, Firebase service-account JSON…). If you lose it, those credentials become unreadable and you'll need to re-enter them. Keep a copy in a password manager.Replicas
Volume management
- Persistence: the
maillayer-datanamed volume Coolify creates from the Compose file holds the SQLite database, uploaded images, and nightly backups. It survives container restarts and redeploys. - Inspect: open the resource in Coolify, go to Terminal, and run
ls /app/data. Or SSH to the host and usedocker exec -it <container> sh. - Backup: Maillayer takes nightly VACUUM backups in
/app/data/backups. See Backups for an offsite-copy recipe.