xcloud.host runs Docker workloads on managed VPS infrastructure. Maillayer ships as a single image, so the flow is: spin up a server, drop in a Compose file, set two env vars, and deploy.
Deploy
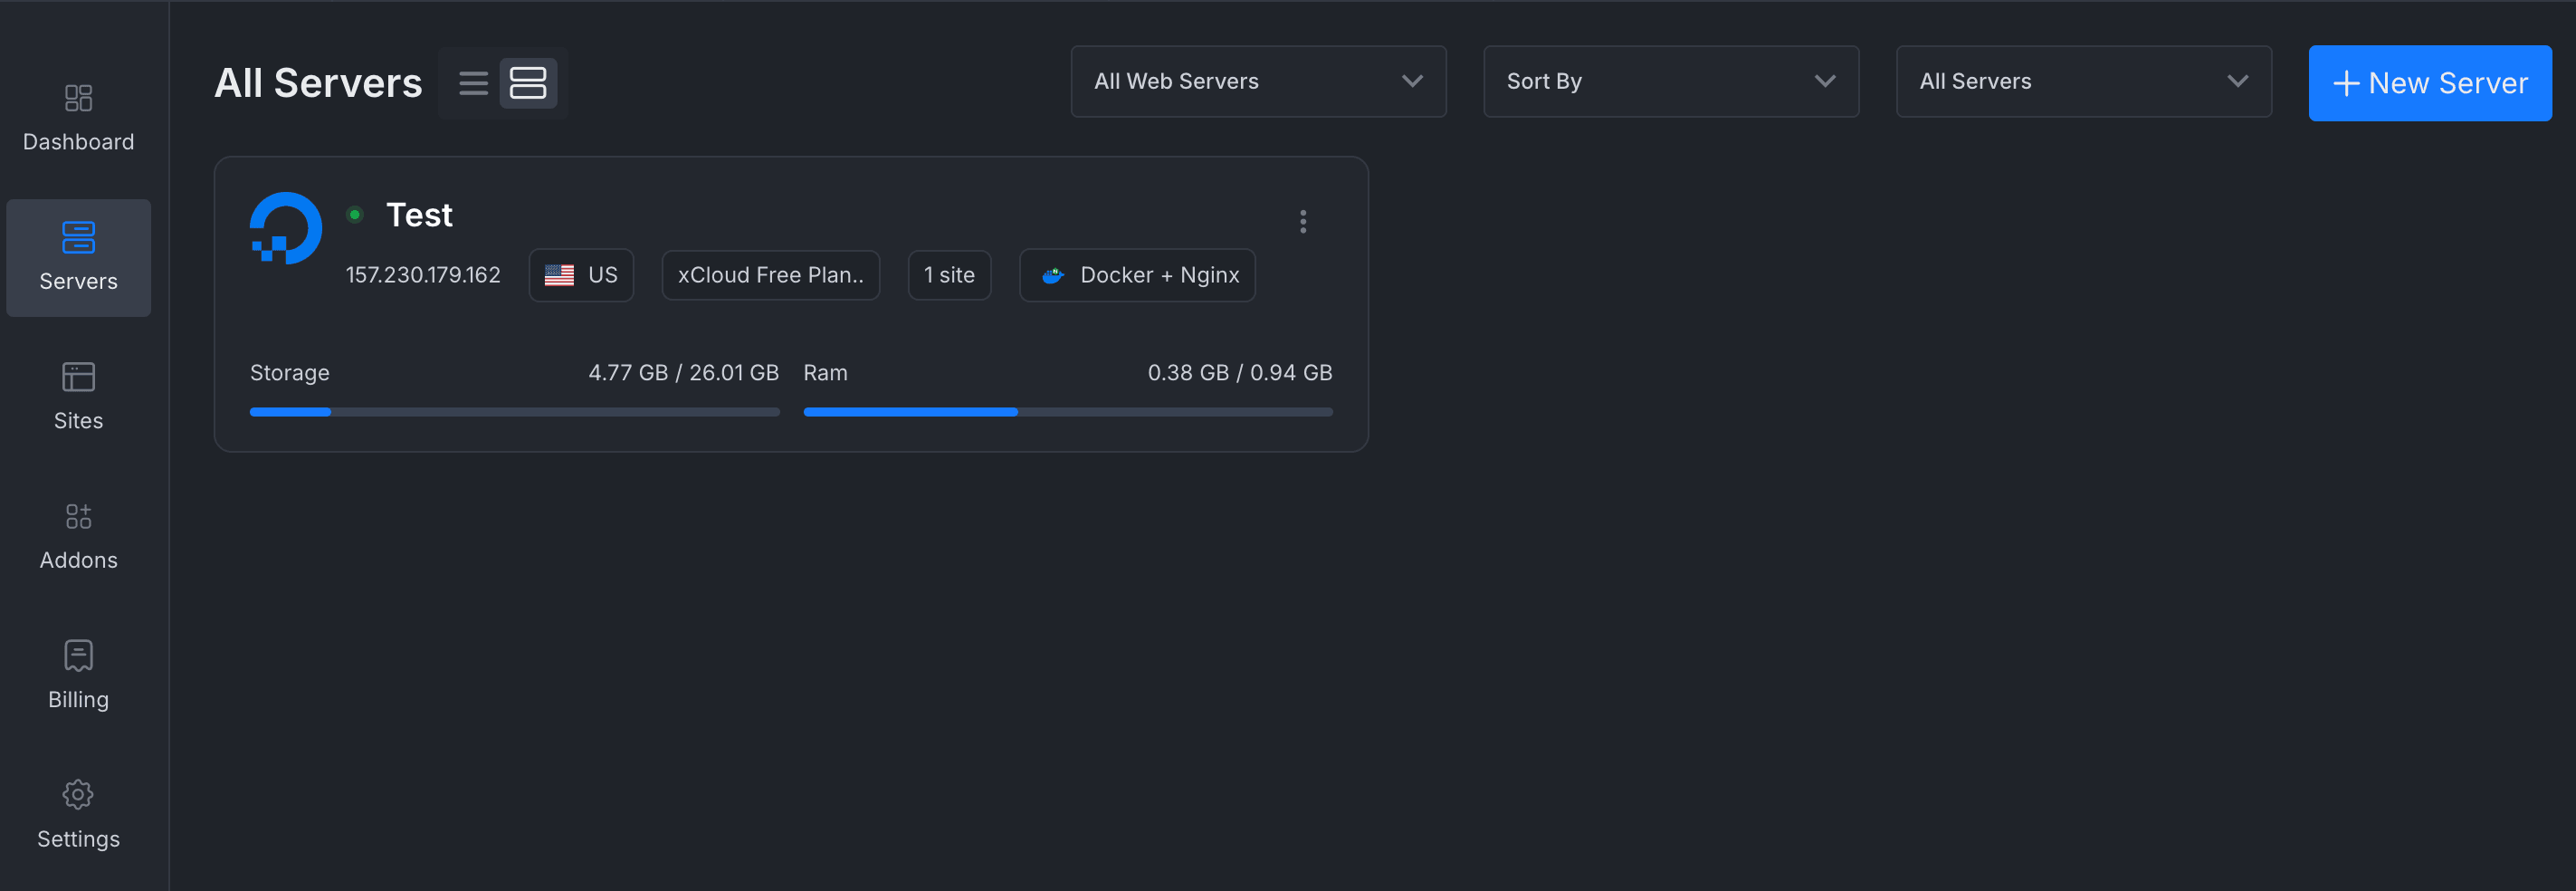
Sign in to xcloud.host and create a new server (or pick an existing one). The free plan is enough to evaluate Maillayer; resize later when you outgrow it.
Step 1 — Create or pick a server. Open the server, go to Sites → Add Site, then choose Custom Docker → Docker Compose.

Step 2 — Pick Docker Compose under Custom Docker. Fill in Site Title (e.g.
Maillayer App) and pick a domain. You can use the free*.xc1.appdemo domain to start — you can move to a custom domain later — then click Next.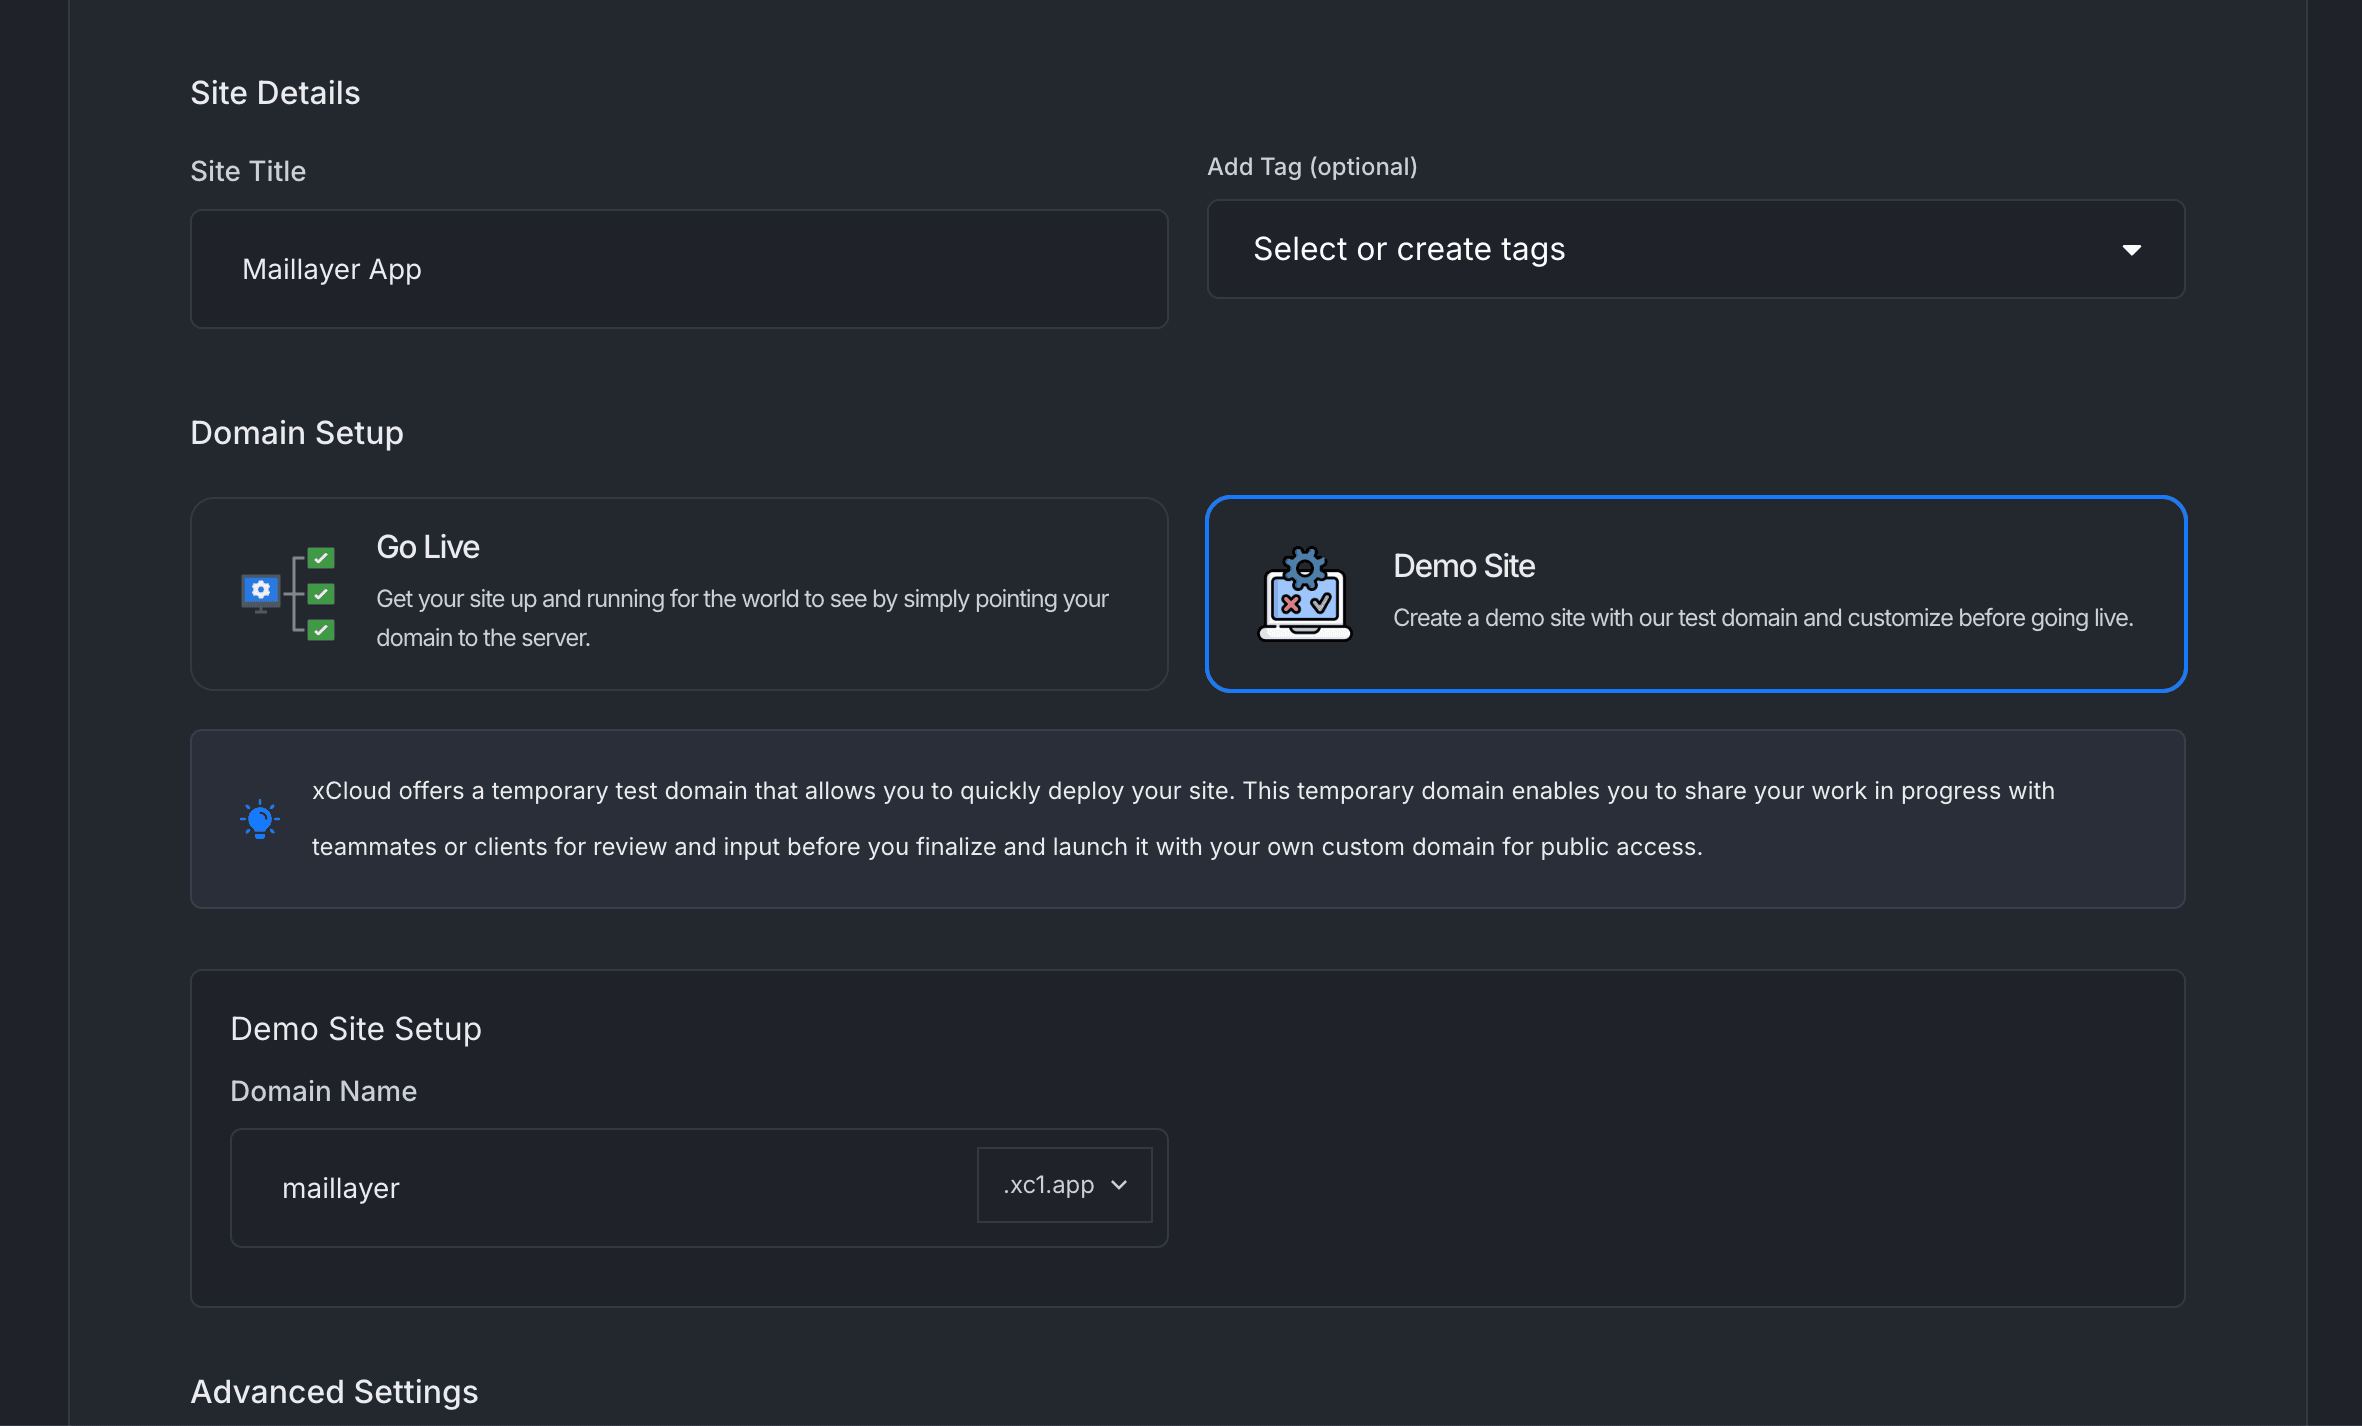
Step 3 — Site title and domain. Under Docker Compose Source, choose Paste docker-compose.yml content and paste:
services:
  maillayer:
    image: ghcr.io/mddanishyusuf/maillayer-pro:1
    restart: unless-stopped
    ports:
      - "3000:3000"
    volumes:
      - maillayer-data:/app/data
    environment:
      AUTH_SECRET: ${AUTH_SECRET}
      APP_URL: ${APP_URL}

volumes:
  maillayer-data: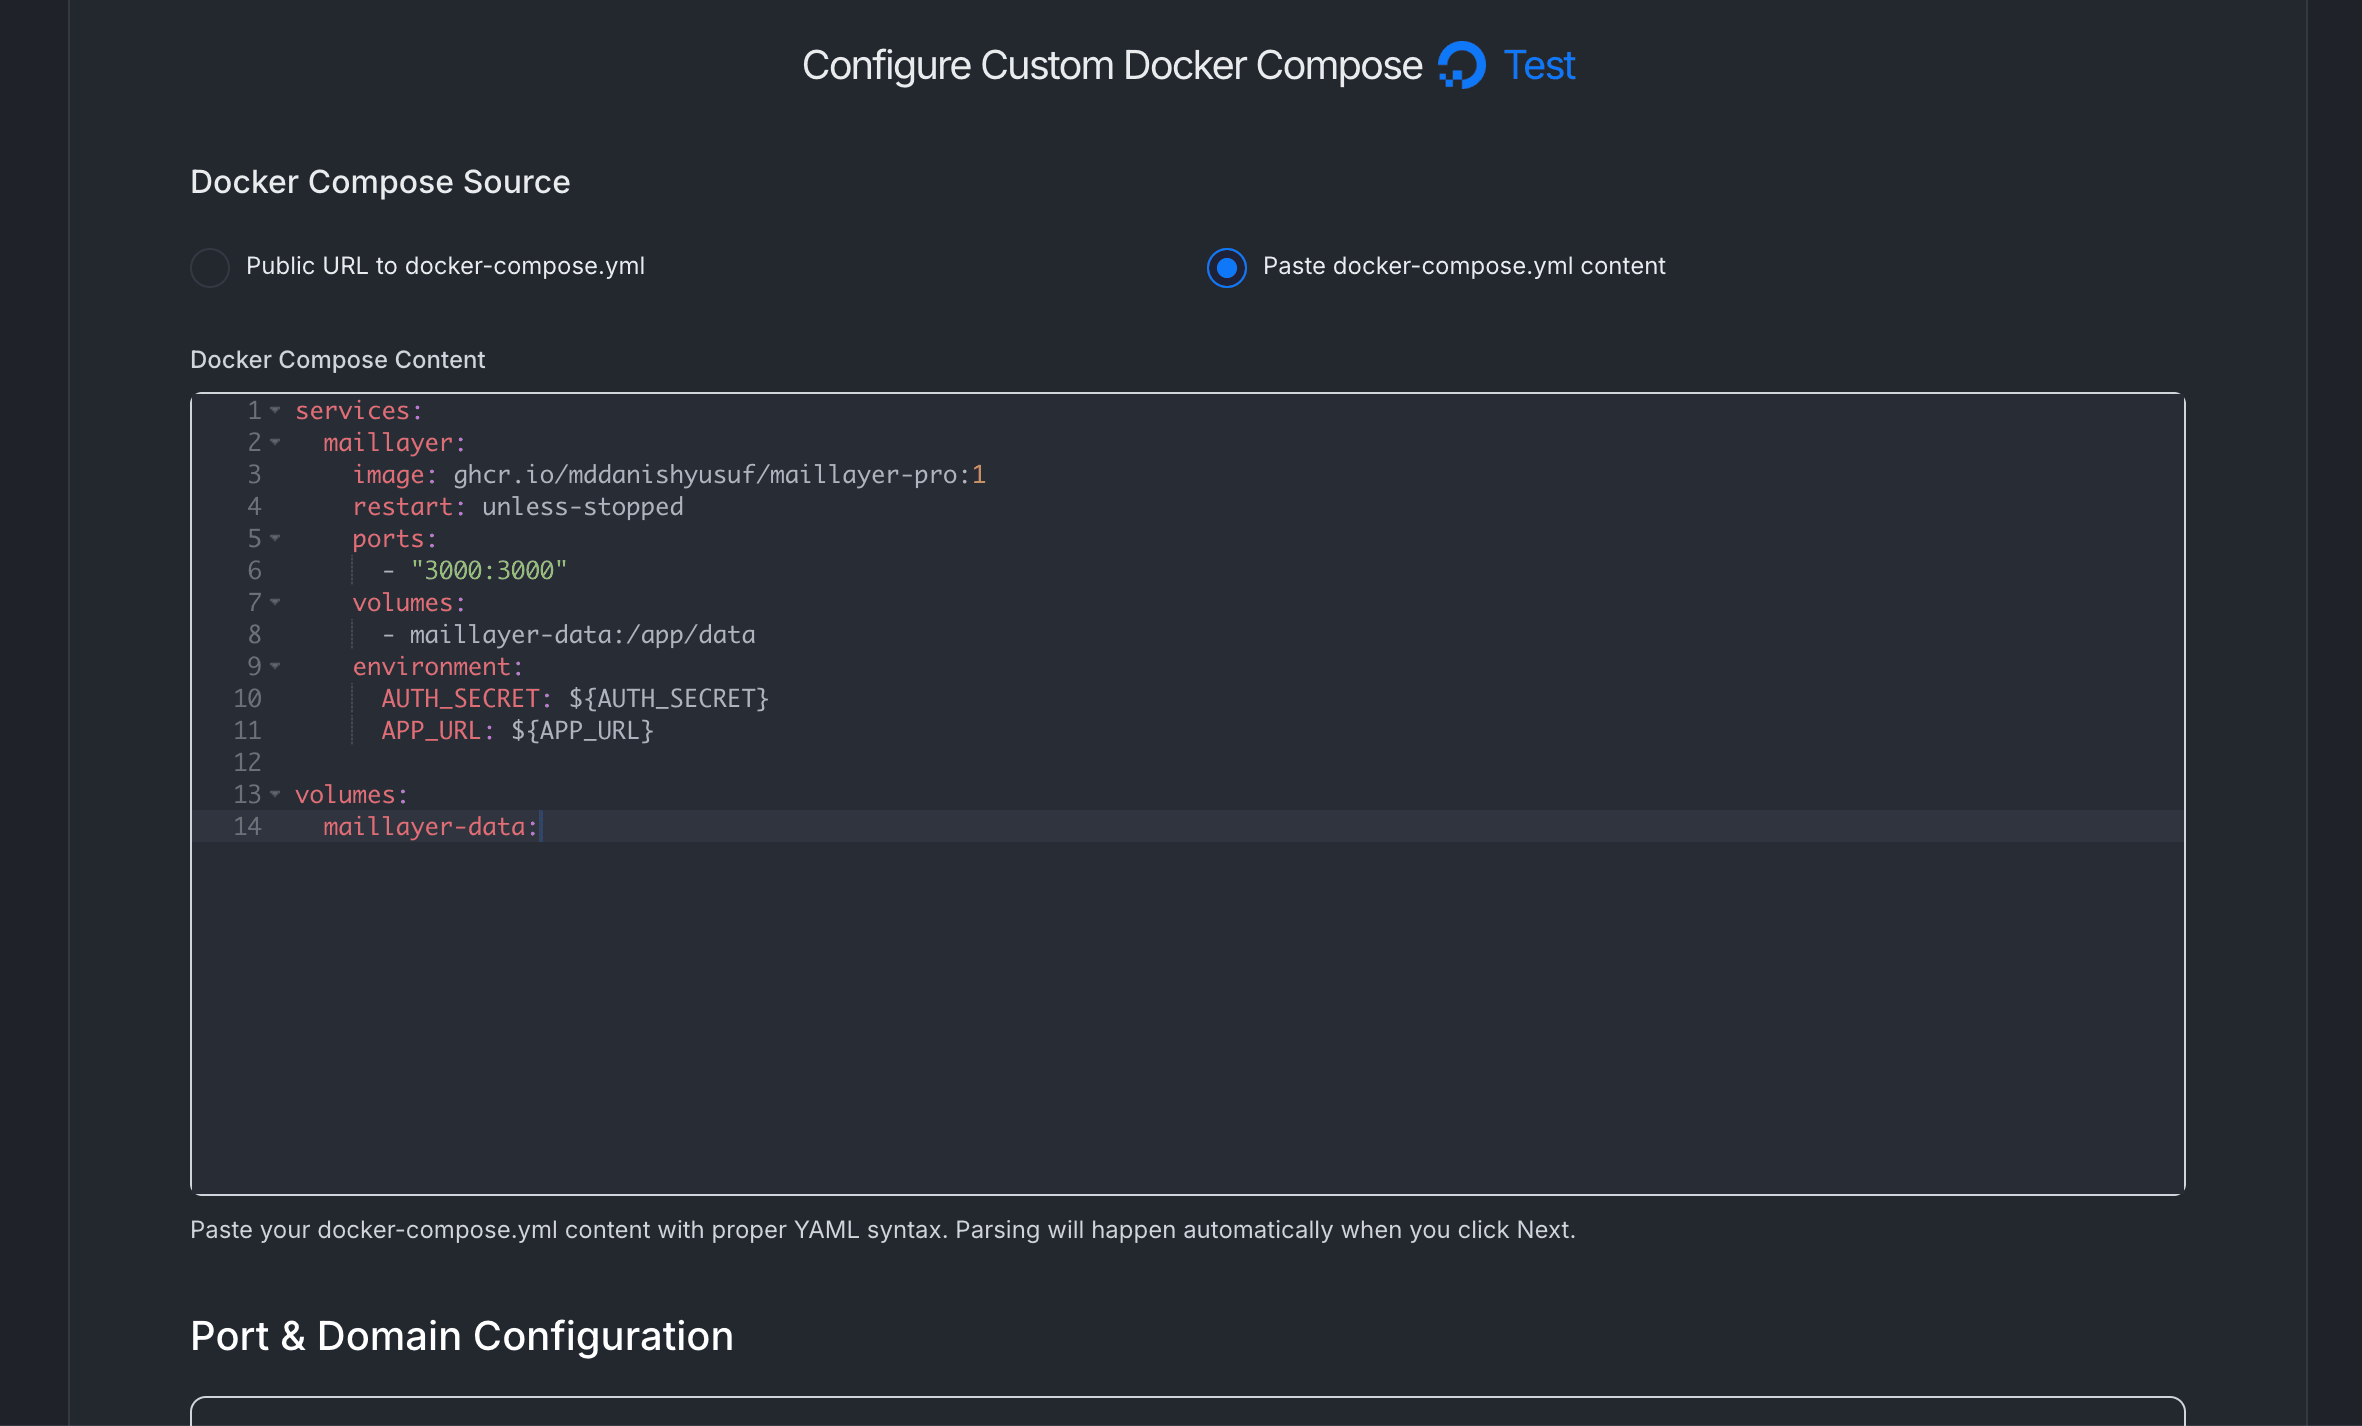
Step 4 — Paste the Compose file. In Port & Domain Configuration, set the primary port to
3000(the domain auto-fills from step 3).Toggle Provide Environment File (.env) on and paste:
# Required: public URL where this install is reachable.
# Used for tracking-link generation, unsubscribe URLs, and the
# domain reported to the license server during activation.
APP_URL=https://maillayer.example.com

# Required (or generated on first boot — see callout below).
# Decrypts every stored provider credential — back this up.
AUTH_SECRET=$(openssl rand -base64 48)
Replace
https://maillayer.example.comwith the actual primary URL xcloud shows you (thehttps://<your-subdomain>.xc1.appvalue, or your custom domain). ForAUTH_SECRET, runopenssl rand -base64 48locally and paste the output — the$(...)form in the snippet doesn't expand inside an .env file.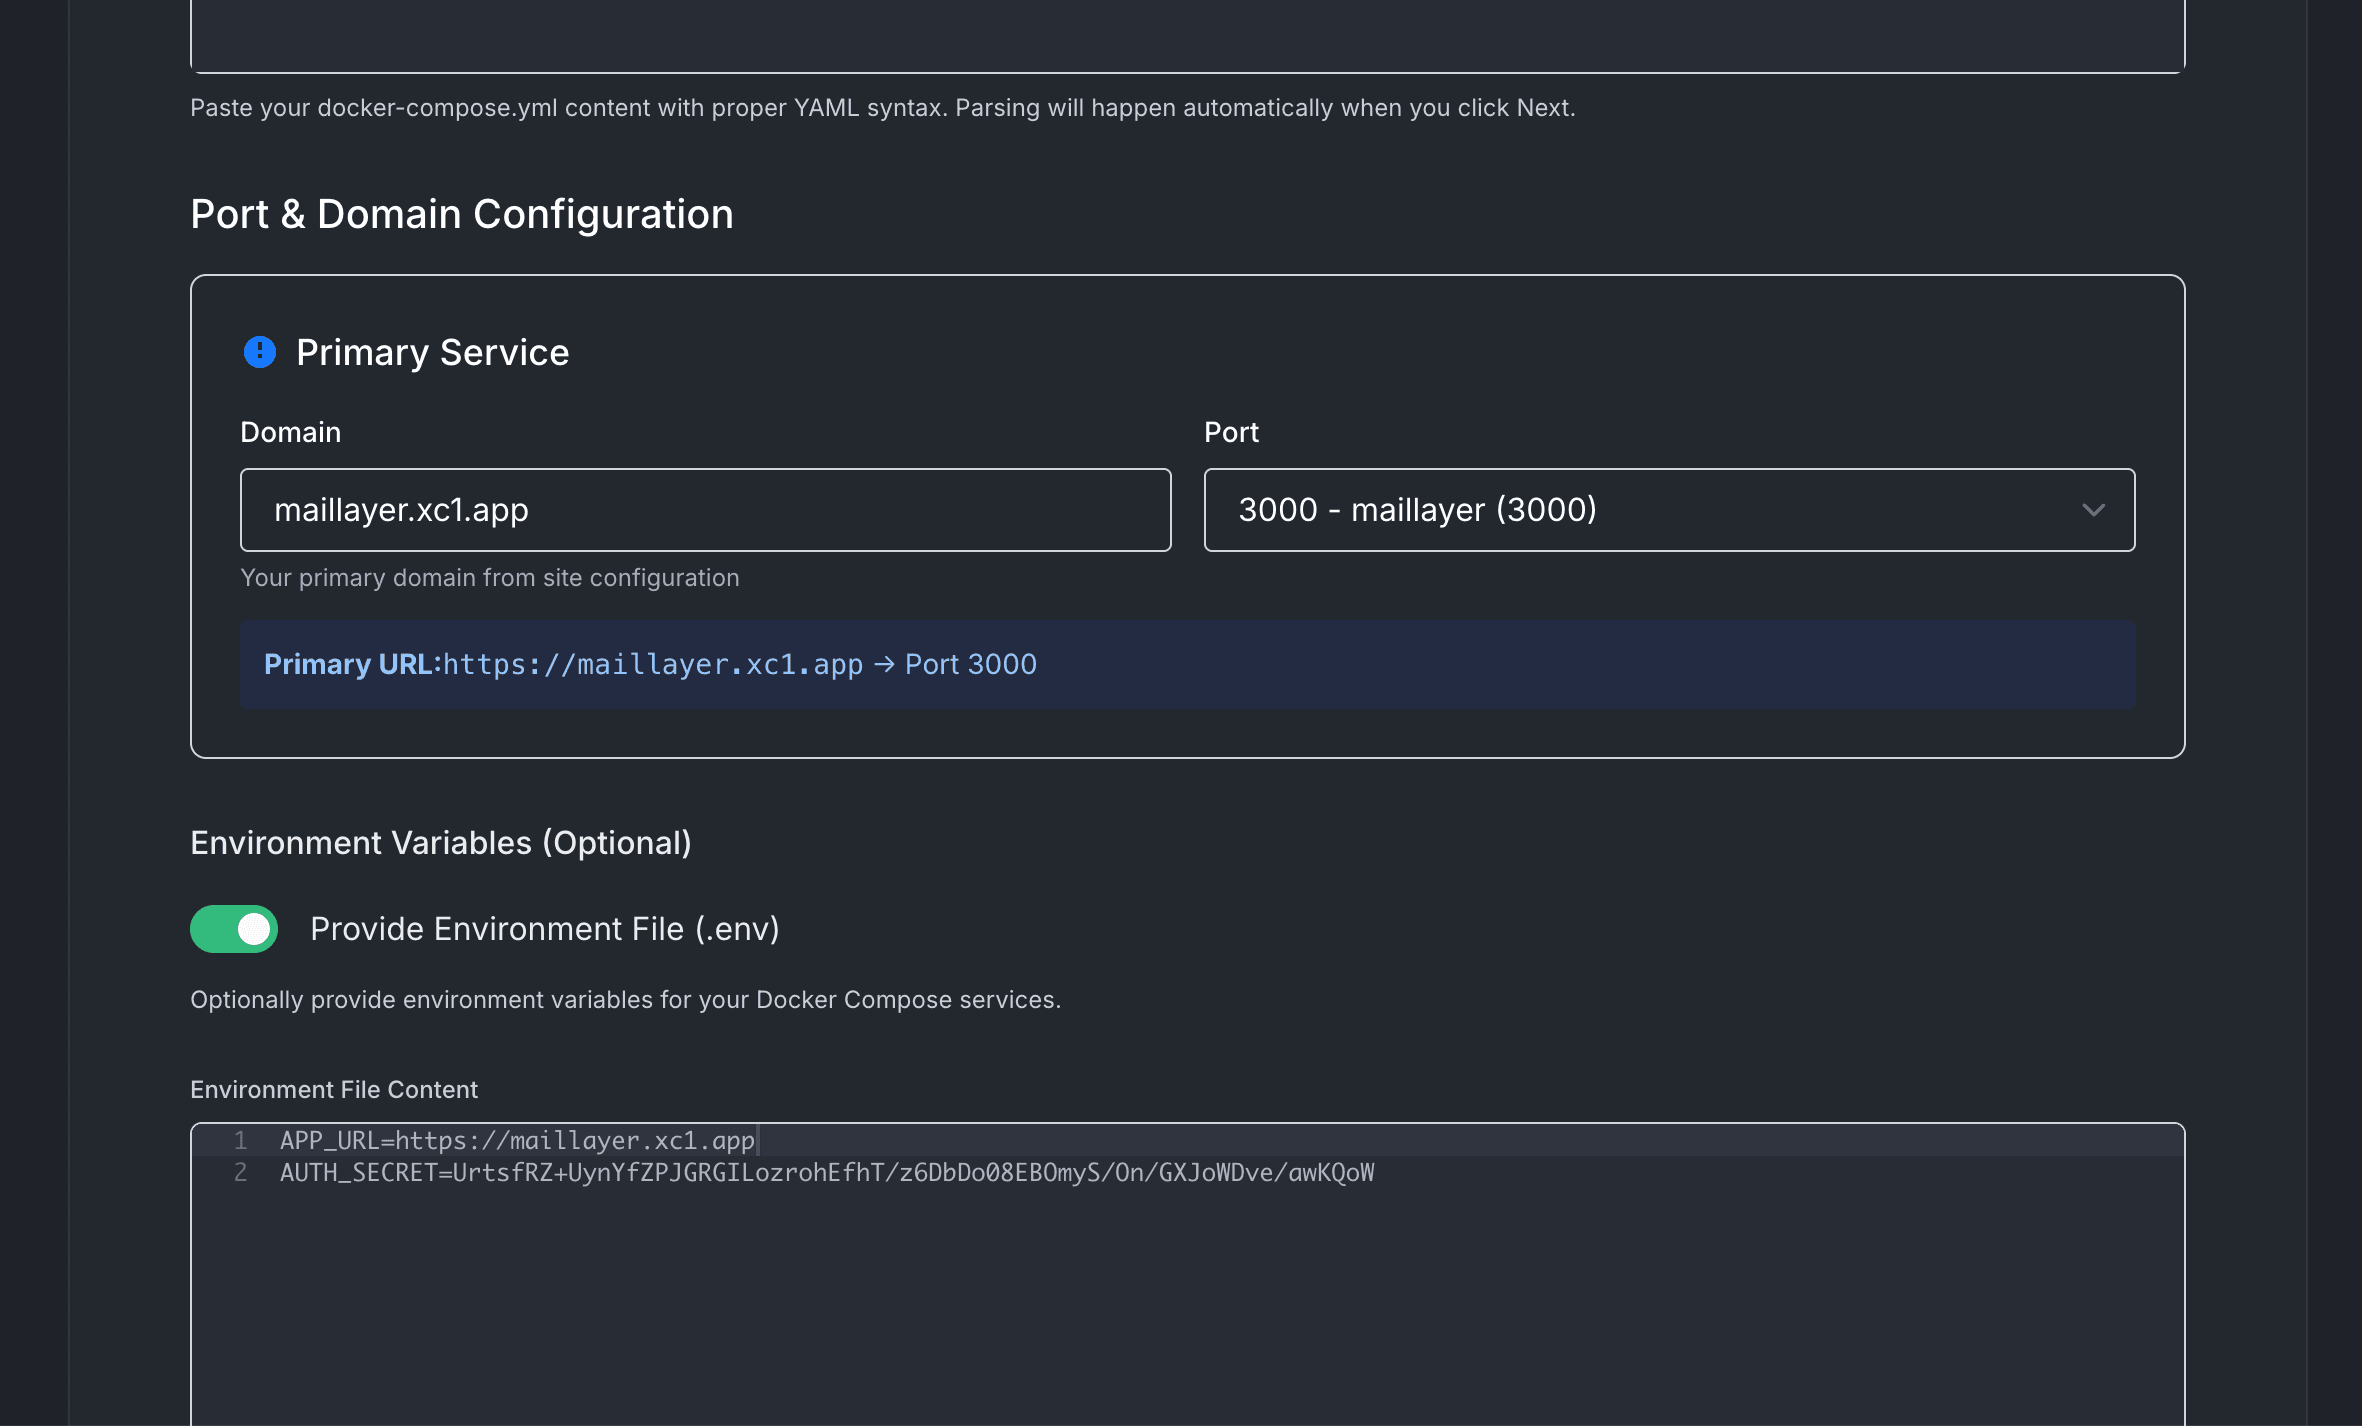
Step 5 — Port 3000 and the .env file. Click Deploy. Once the container is healthy, open the URL and sign up — the first account becomes the owner.
AUTH_SECRET decrypts every stored provider credential (SES keys, SendGrid tokens, Stripe webhooks, Firebase service-account JSON…). If you lose it, those credentials become unreadable and you'll need to re-enter them. Keep a copy in a password manager.Custom domain
In xcloud, open the site → Domains and add your domain. Point a CNAME at the target xcloud provides; HTTPS is provisioned automatically via Let's Encrypt.
Once the domain resolves, update APP_URL=https://your-domain.com in the env file and redeploy so tracking links and unsubscribe URLs use the right host.
Replicas
Volume management
- Resize: grow the server's disk from xcloud's settings. The
maillayer-datanamed volume rides along with the host filesystem. - Inspect: the in-container mount path is
/app/data. Use xcloud's shell or SSH anddocker execinto the container to peek. - Backup: Maillayer takes nightly VACUUM backups in
/app/data/backups. See Backups.